BETTER 3D MODELING
For a long time now I have been working on learning how to model and animate in 3D. While I have used my 3D skills to create lower-thirds for video and fun little animations, for the most part I have not mastered basic character modeling from scratch nor have I made detailed animations. Typically, I employ a number of tricks to keep things silly and simple to avoid those details.
I recently found an incredible tutorial series that using the Blender 3D environment for modeling, texturing, rigging, and animation. Blender has been my tool of choice for a very long time and I am pretty excited about it. Below are a couple examples of the work from the tutorial for creating basic human models from scratch that deform nicely when being animated.
I should mention that I didn’t create the actual animations. The model is mine, from scratch, but the model was uploaded to a site called maximo.com that allows you to apply animations to your models. The nice thing here is that you can quickly take a look at your human rig to see if it is bending nicely in all the right places.
Low-Poly Version 1
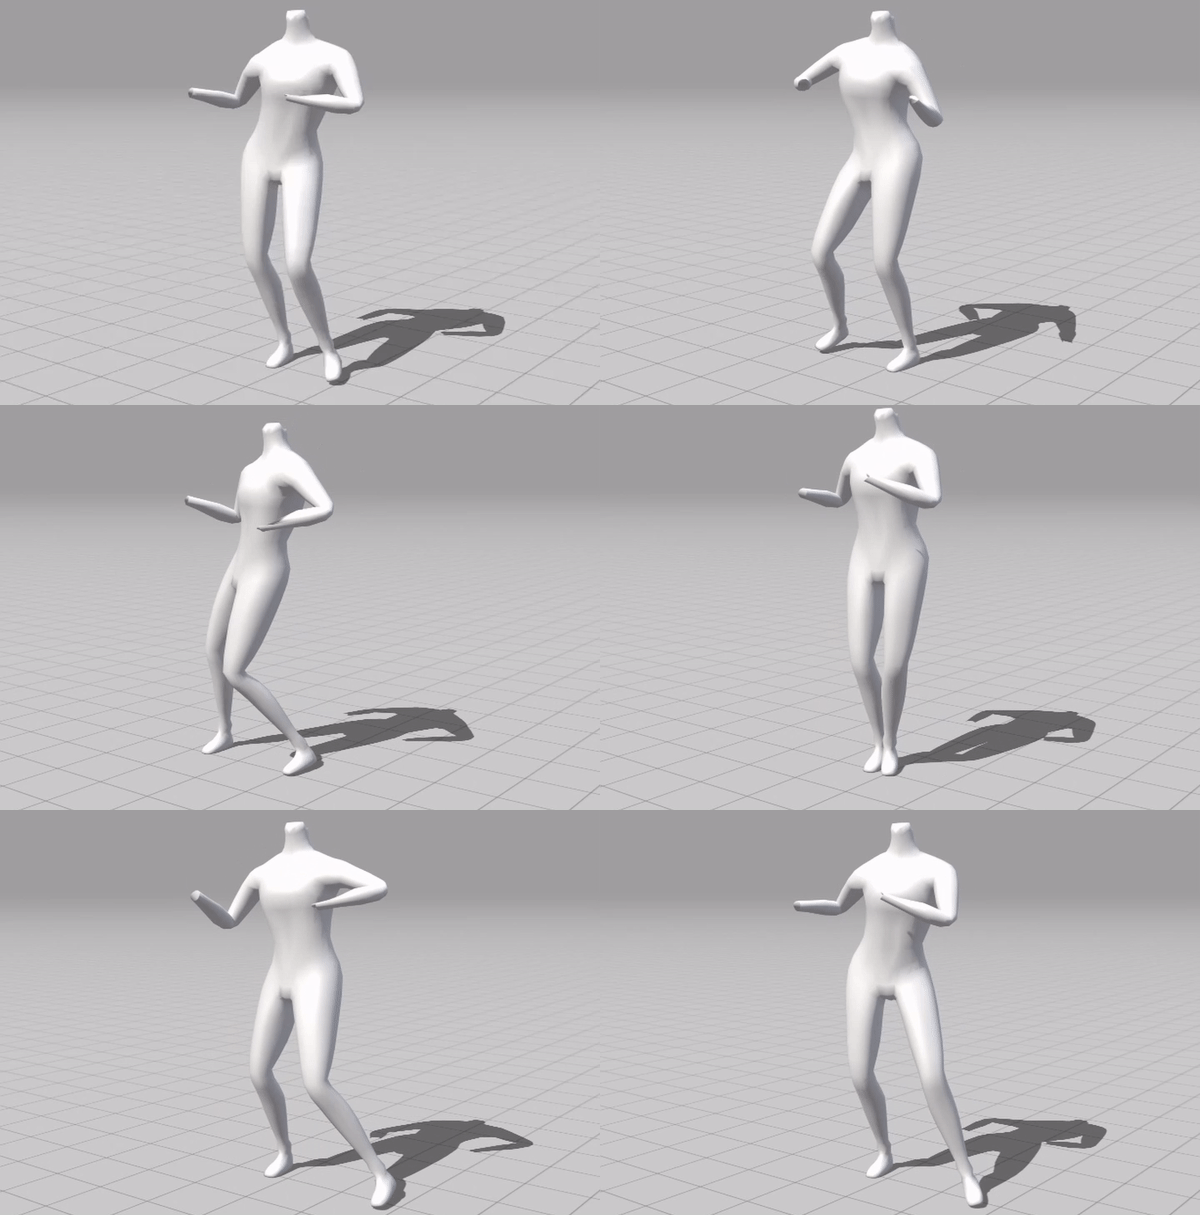 You can see here the the basic model is deforming and bending nicely for the animation. But there isn’t much definition to the character. There are no hands yet or head to the character. It could become a male or female. And the knees and elbows are just generic bends. The character here is essentially box modeled so we get a clean topology on the core body right from the start.
Low-Poly Version 2
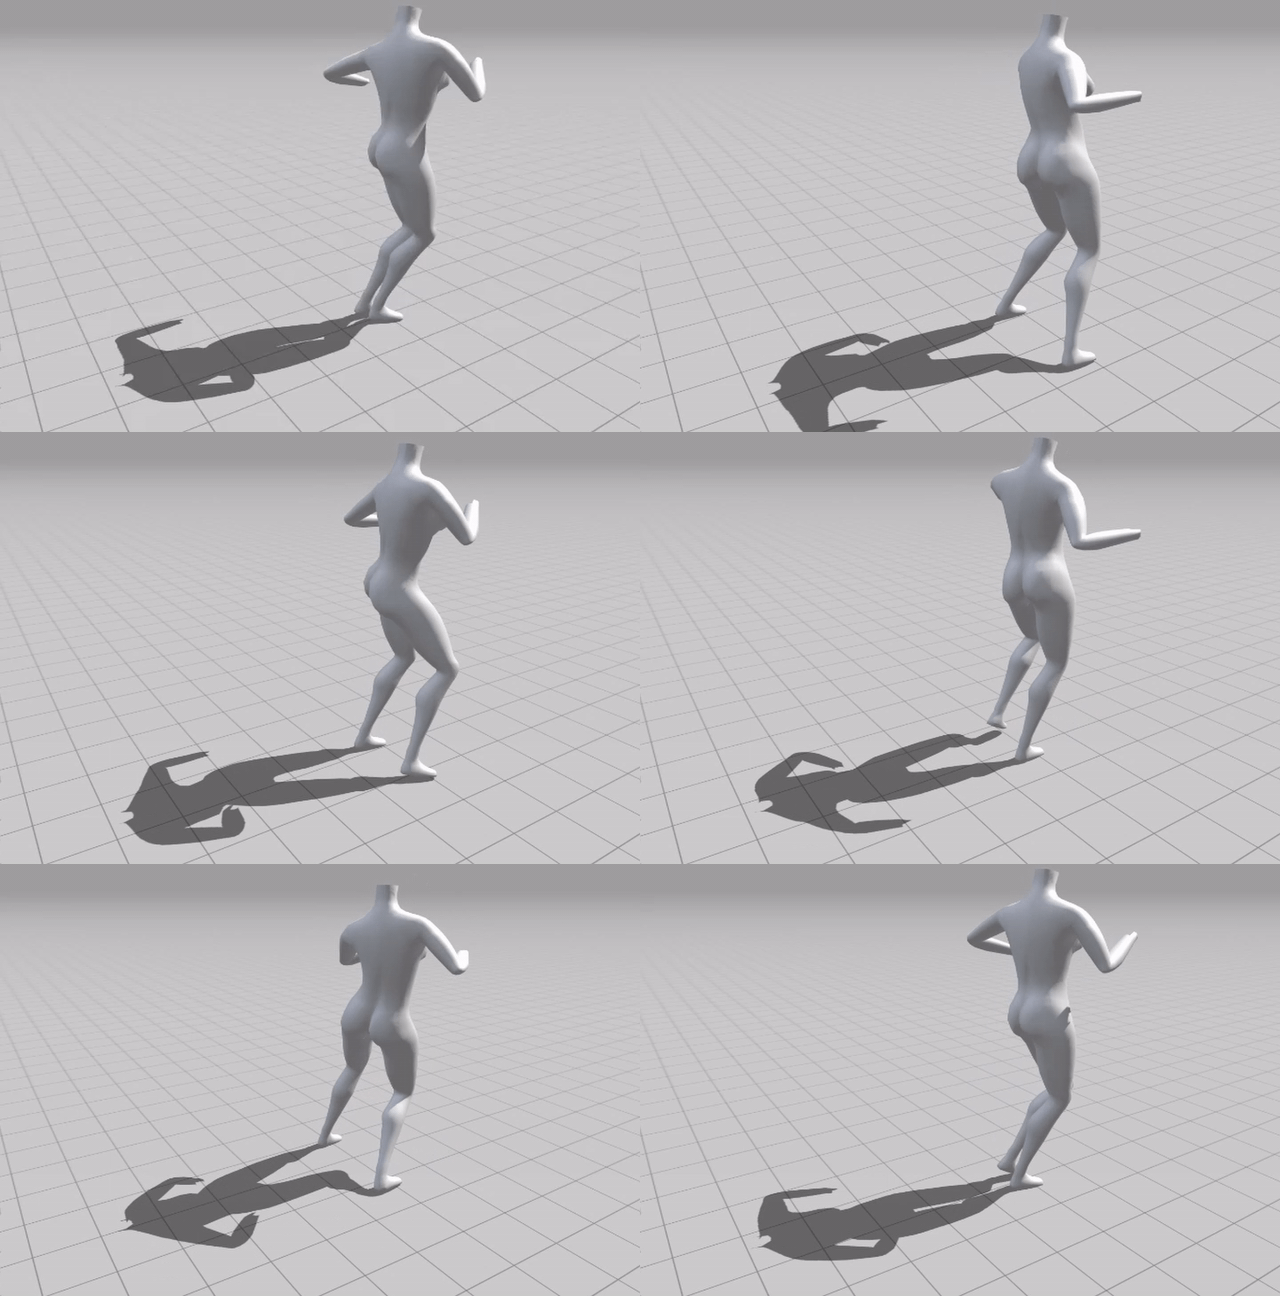 Still no head or hands. But the body has a bit more definition. The butt looks more like a rump. The elbows and knees have a little more definition. The legs look more defined. The shoulders look more human and deform a bit better. The waist and hips look more like human movement. For this model we did more smoothing and sculpting of the box-modeled character without adding poly counts. This makes the model look better without bogging down the computer doing the creating or animating.
Low-Poly Hands
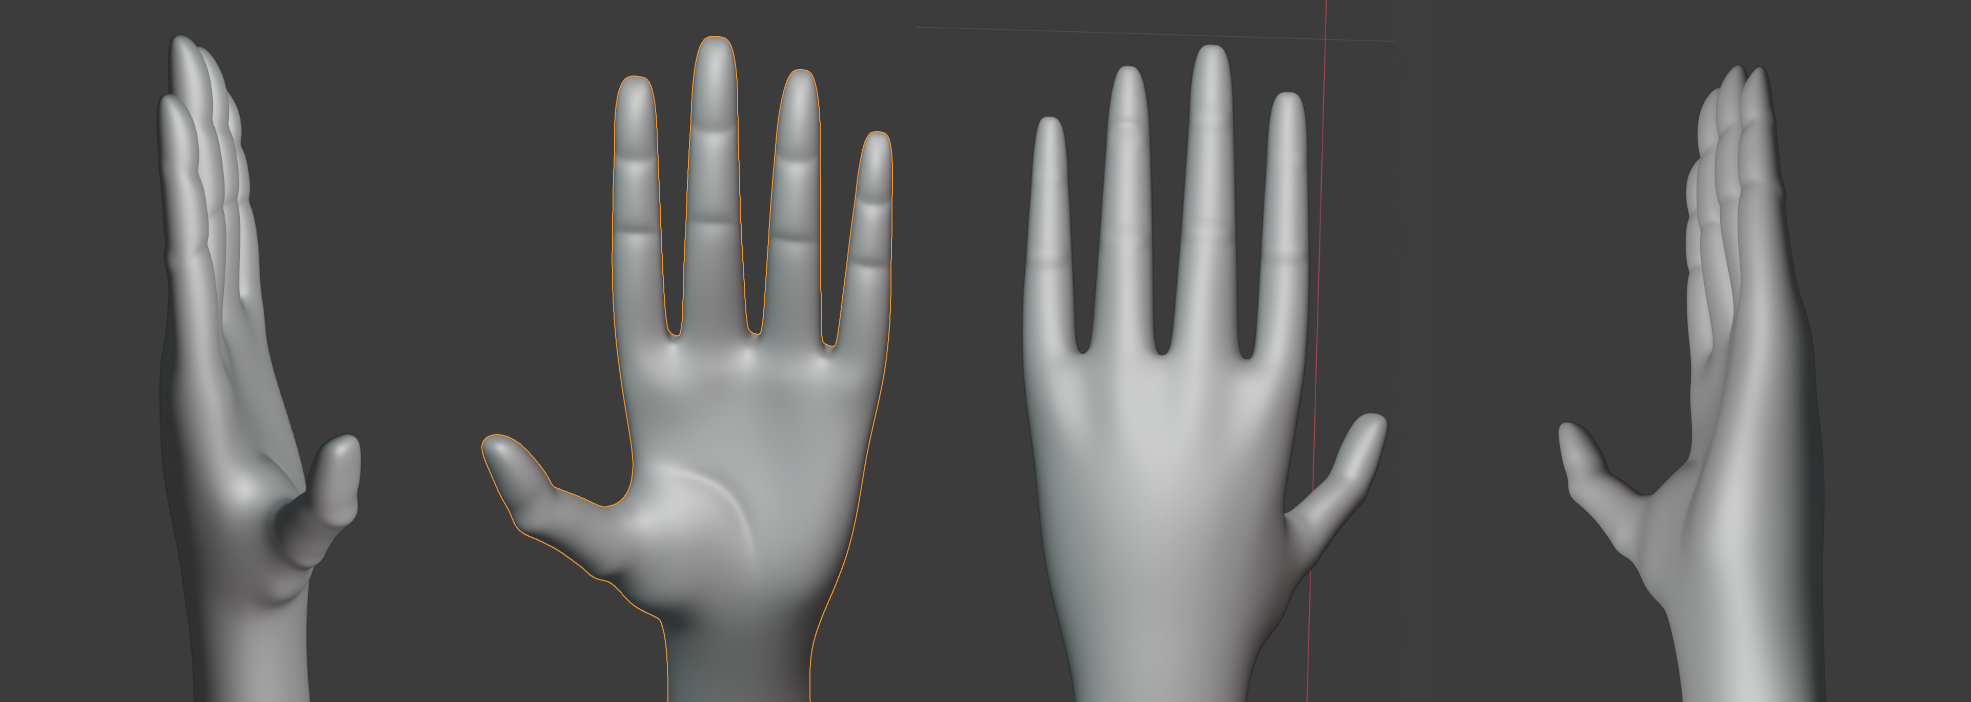 The hands remain low-poly but we can get good deformation and articulation using a hand full of cool techniques that help the model compress and expand in all the right places.
high-poly Head
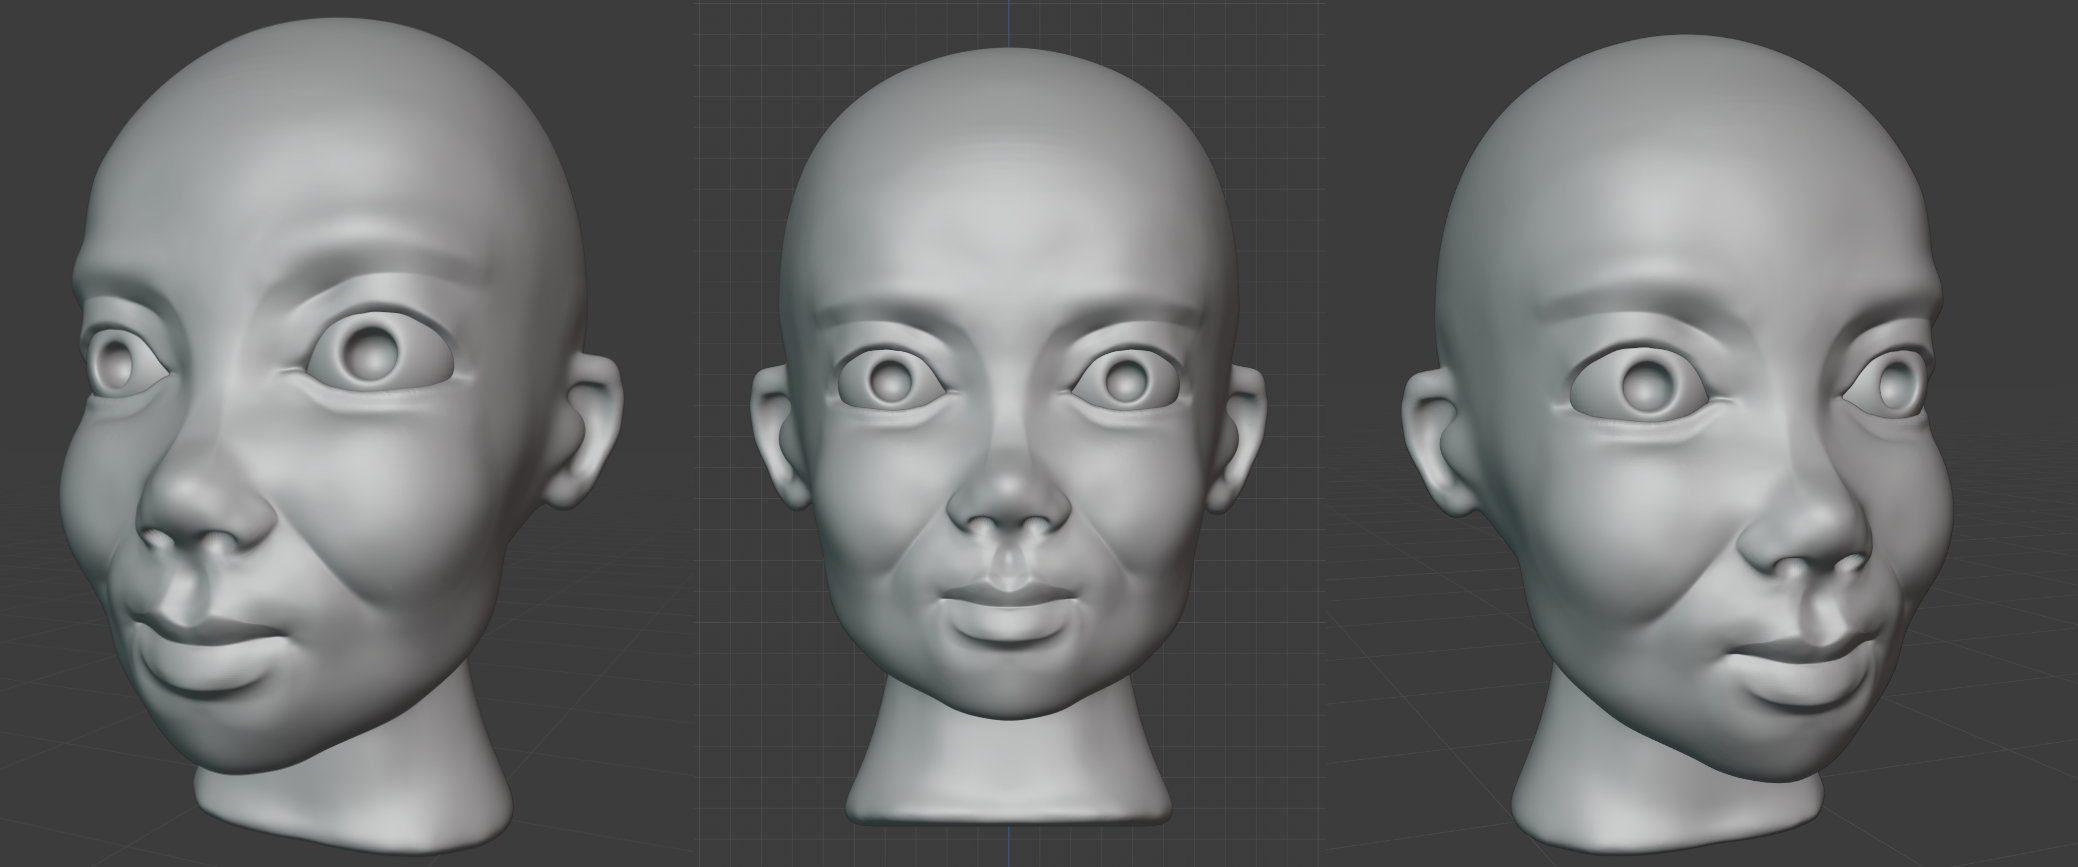 The head is now modeled with an insane number of vectors, and it is now ready to be transformed into a much smaller light-weight model. This is done by projecting the model details onto a much more simple set of far fewer vectors. Think of it like cutting the shape of a dolls head out of wood using simple angles, but painting in the details.
High-Poly Head Render
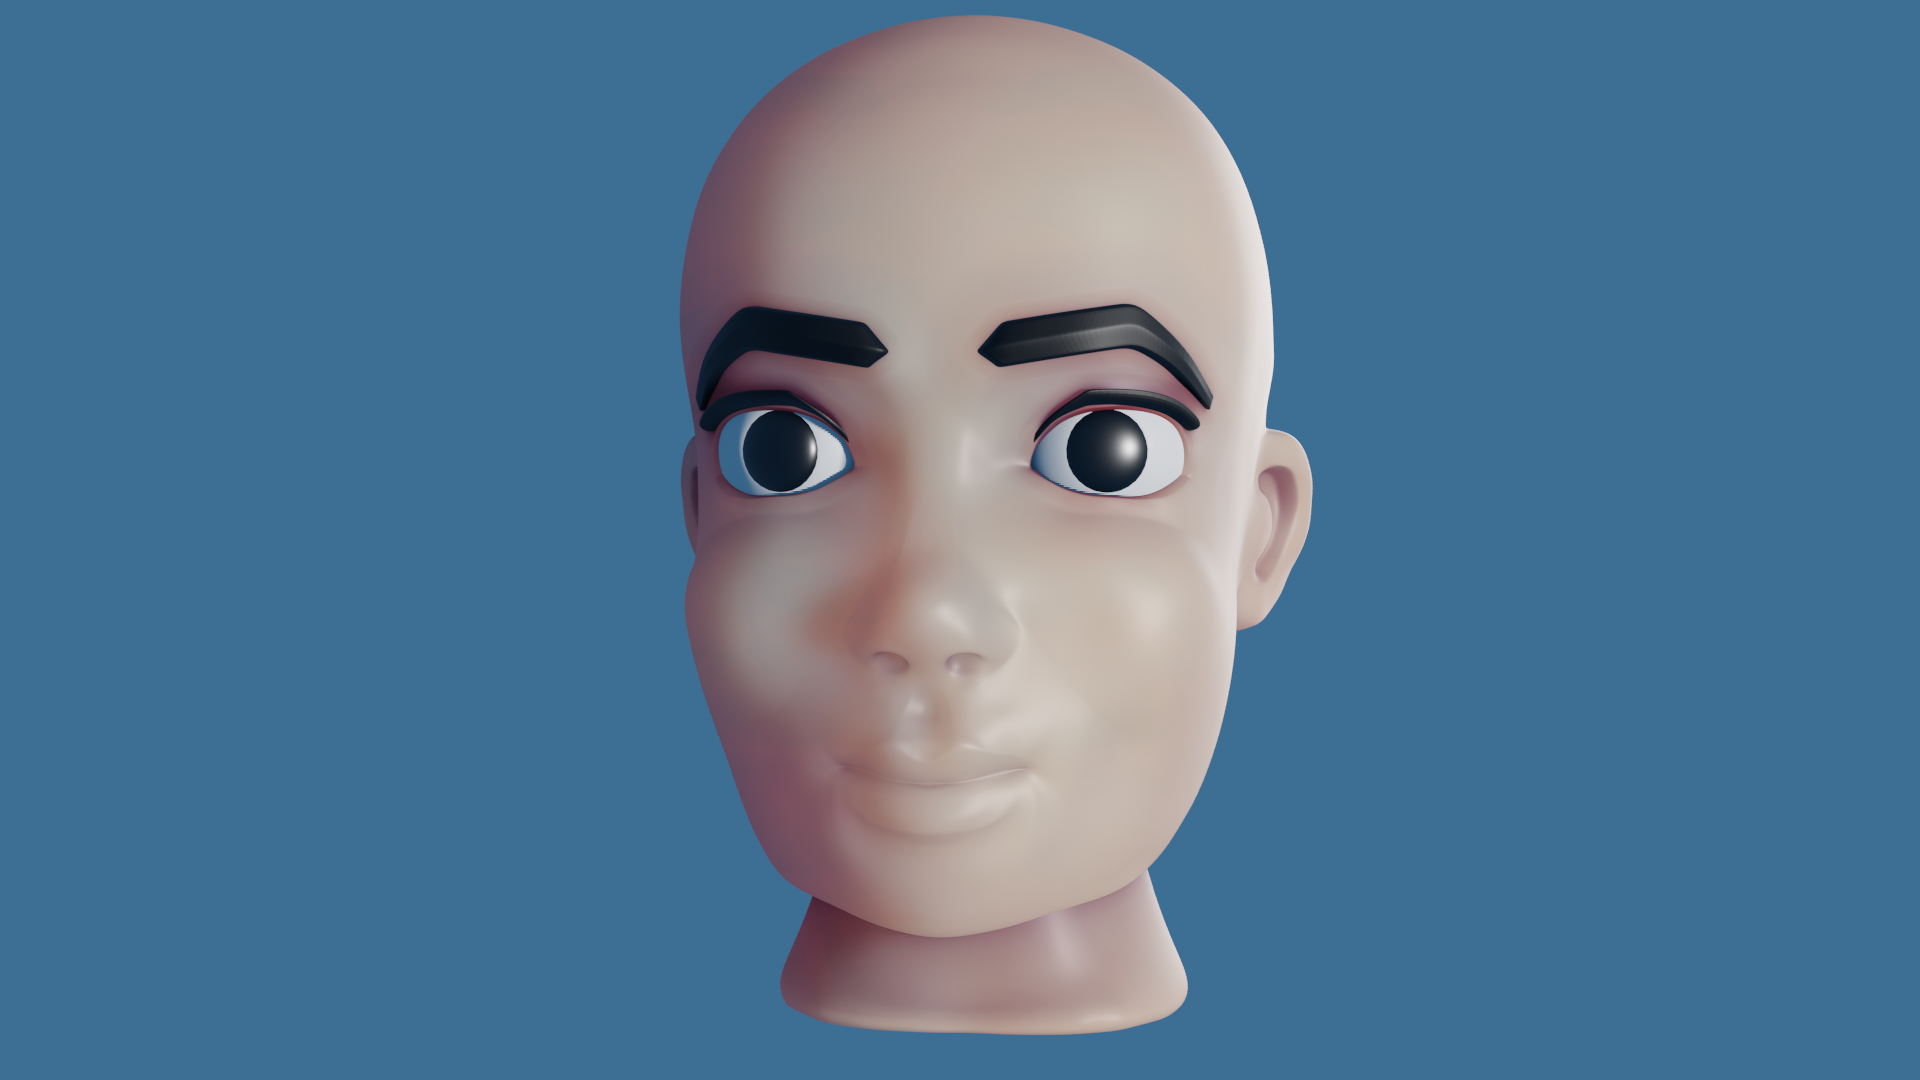 I tossed a few color materials on the head and setup some simple lighting for a quick render. The head is coming along well.
Finished Head with Skin Shading
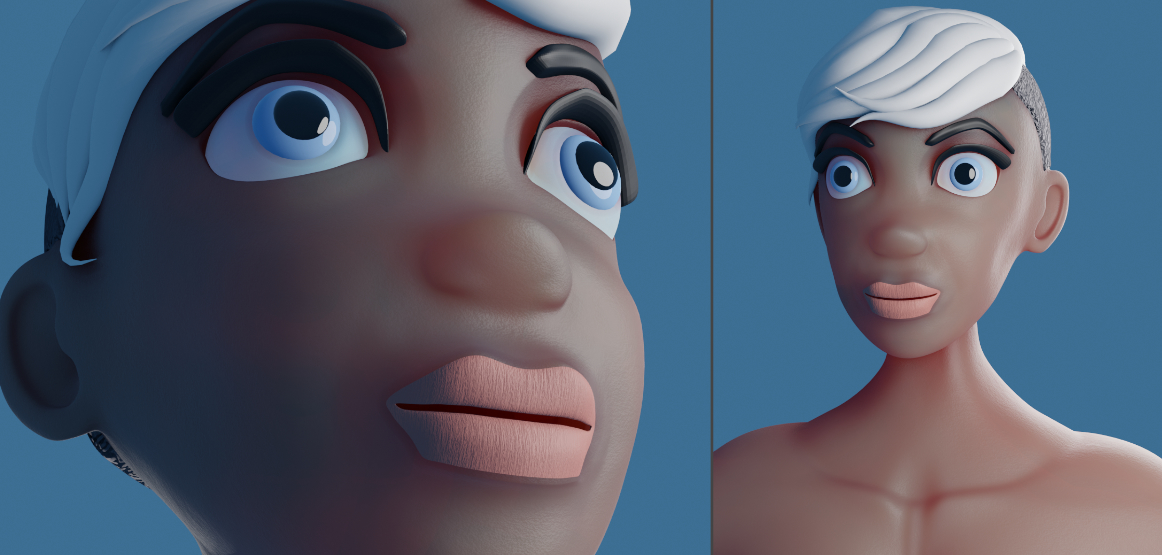 I created her hair and other details including setting up skin color sharing. You might notice that this is a different head from the one I created above. I took the time to redraw a new head and then remodel it, basically starting over. I like the proportions better on this head. And this is now the new low-poly version of the new high-poly head, made for animation. I am pretty thrilled with how well this turned out. I do think I will go back soon and make a number of small adjustments to the hair.
This article was originally written on October 13, 2020, and content is being added as I create the character.